
Karbonius CSL Carbon Fibre Roof Find

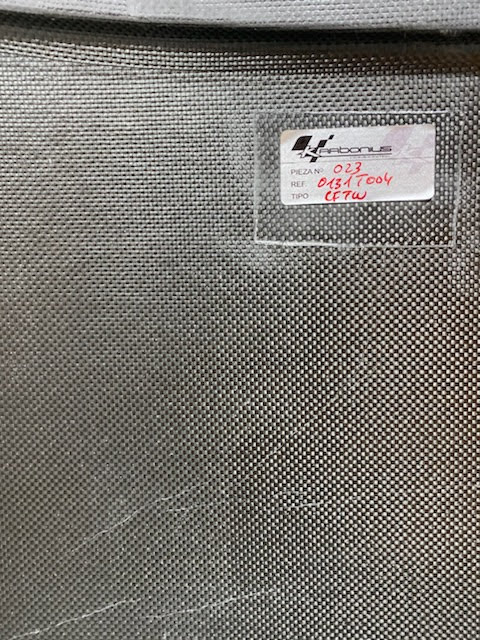
So hanging around on the Australia sub-forum of E46Fanatics the other day I stumbled across someone trying to part with a brand new Karbonius CSL Carbon Fibre Roof. Didn't think much of it to start with, it's something I always planned to do in the long run but since all the spending on my build thus far it was a step too far in costs. Although after a few days of no one snapping it up, which i was surprised by, I decided to get in contact with the guy and see if we could make a deal that suited us both. Turns out we could, he needed to part with it and I had a desire to get it under market value and we met amicably in the middle. So now with zero planning or preparation, or general thought on other parts required or costs involved, I have myself a Karbonius CSL Carbon Fibre Roof!


Comments

Popular posts from this blog

Goodridge Fuel Sample Point

As part of the Targa Australia Regulations the car must be fitted with a Goodridge G-Link quick disconnect coupling (shown above) for fuel sampling as per M5 of the Targa Australia Regulations: Luckily thanks to my previous install of the Radium Automotive Fuel Rail I now had an AN connection at the back of the fuel rail and at the outlet of the Fuel Pressure Regulator. Now due to the clearance it was not possible to neatly install a take-off at the rear of the fuel rail where the current AN fuel line connects to so the easiest place to setup a take-off for a fuel sample point was off the Fuel Pressure Regulator. So to achieve this I purchased a SpeedFlow Tee-Piece (-06AN female to male with a male off-take). As you can see in the below photo I was then able to off-take from this point for the fuel sample connection. The fuel sample line then follows the fuel rail line out from the Fuel Pressure Regulator and then splits off and follows the Oil Dipstick Tube up to the Left Hand strut t

Hard Motorsport Dash Flocking

Now while I had the dash out of the car to get in and replace the heater core and AC Evaporator I figured it was a good time to apply an anti-glare finish to the dash. Previously I had purchased the anti-glare dash kit and tools through HARD Motorsport so I got stuck into it. Its reasonably straight forward to do but hard to get right. I highly recommend the flocking applicator you can get through HARD Motorsport if you chose to do this yourself as it made a consistent overall finish a lot easier. The hard part was getting the glue painted on nice and consistently and then blasting with the flock before it started to dry. Here is a collection of photos of my efforts and the finish: With the dash out I also noticed the rust that had started to bloom on the dash frame as it is unpainted. I thought it was a little over the top to get it painted but also didn't like leaving something completely unpainted. I had a fair bit of a can of Wurth Rust-Stop Primer and Zich Rich Weld-Thru Prime

///M3 CS (ClubSport) Badging

As part of the overall theme of my car build I have wanted to set my car apart from other less modified or standard E46 M3s whilst staying true to a BMW styling. I wanted the car to look like it could have come off the factory floor as a BMW option package and drive well on the street, whilst also tearing up on the track. This is part of why for most of my build I have referred to it as a Clubsport build and this gave me the idea to try capture that naming and apply it to the theme of the car. There was never officially a BMW E46 M3 Clubsport as the BMW E46 M3 CS that Europe got was actually a Coupe Sport and obviously the CSL was the pinnacle model which as discussed previously I cannot really replicate from. So I started thinking about badging and labeling and was reminded of some of the M3Forum guys with Supercharged M3s who use a CSL badge but switch it around to give themselves a ///M3 sc which I always thought was kind of cool and set them apart without being too tacky. The use o